Lately it seems that I have time to write only on the weekends. I wrote this post on the bus on the way to work Friday (giving my tired legs a break from the bicycle!) but didn’t get a chance to type it up and add pictures until today. I have a whole slew of half-written drafts just waiting for me to have the time to finish them and post them, but Jordan has recommended I write once per week right now while we’re involved in home renovations. I will make that my goal and hope to write more in the future.
This week our CSA share included a watermelon, so I’m going to assume it’s not too late in the season for a post about one of my favorite summer fruits. Back in June, our church held a picnic one Sunday between the morning and afternoon services. This was the weekend Jordan was away at RECon, so I was glad for the opportunity to spend the day with my church family. At these events, everyone signs up to bring something; I had promised to contribute a fruit salad. Let’s just say I have a very loose definition of the word “salad.” For a green salad, lettuce is plenty (although Jordan would disagree). For a fruit salad, a watermelon is all you really need.
My favorite method of preparing watermelon is to use the rind as a bowl.
What you need:
- a watermelon with a mostly flat underside for balance
- a short, sharp knife
- a metal spoon or melon baller
- a large bowl (or two!)
- a couple grocery bags
Steps:
- Lay out the grocery bags and put the watermelon on top to catch most of the juice while you work.
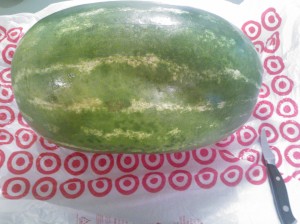
- If you want a “handle” on your watermelon basket, with the knife trace two parallel lines the long way across the top of the watermelon. NOTE: the handle is for decoration only!
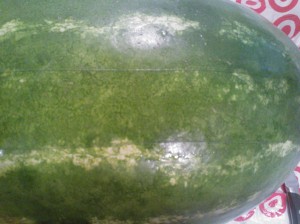
- From the ends of the handle, again use the knife to trace a half oval on each side of the watermelon. The bottom of the oval should be low enough to allow easy access to the fruit inside but high enough to keep the fruit from spilling out. I try to let the shape of the melon guide my knife.
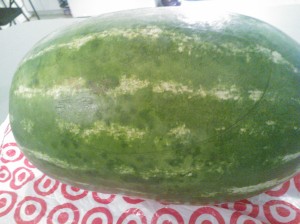
- If you want a decorative edge, trace your pattern along the outside of the oval. (If you trace the inside, the initial cuts will be visible after you remove the top of the watermelon.) I usually do a triangle edge, but you can do any shape you want (and have the patience for).
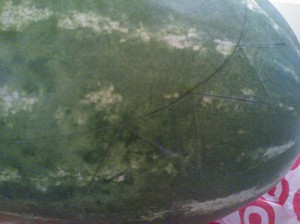
- When you are satisfied with the tracing, cut the lines you’ve traced.

- Once your edges are fully cut, gently work the cut pieces out of the melon.


- Using the spoon or melon baller, remove the flesh of the watermelon in bite-sized chunks. I prefer to use a spoon for this part. Collect the pieces in the bowl.

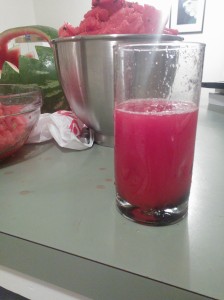
- Eventually you will get to the point where there is too much juice in the melon for you to see what flesh is left on the bottom of the melon. Over the sink, drain this juice into a glass or bowl… It’s delicious (and reminds me of the agua de sandia I had in Mexico)!
- When you’ve removed all the flesh, it’s time to put it back into the watermelon bowl! (Or, if you’re adding other fruit, make your fruit salad and then add it to the watermelon bowl.) If you bought a seeded melon, now would be a good time to remove the seeds.


Enjoy!